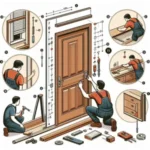
How to fix a broken door handle?
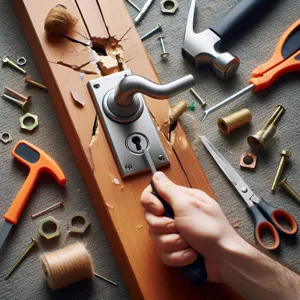
A broken door handle is more than a nuisance; it is a security risk and a daily frustration. You do not need to call a professional or spend hundreds of dollars on a locksmith to fix a wobbly or non-responsive handle. Most issues stem from loose screws or a worn-out internal latch spring. Think of the handle mechanism like a bicycle chain: when it is misaligned or dry, the whole system grinds to a halt.
Gather Your Repair Kit
Before you begin, organize your workspace. Having the right tools within reach prevents you from walking away mid-repair and losing small components. You will need:
- Screwdriver set: Both Phillips and flathead are essential, as you never know which type the manufacturer used.
- Needle-nose pliers: Perfect for gripping small internal clips or tension springs.
- Silicone-based lubricant: Unlike oil (which acts like a magnet for dust), silicone spray keeps moving metal parts slick without the mess.
- Replacement parts: Only buy these after you have disassembled the old handle to match the exact size of the spindle and latch.
Step 1: The Diagnostic Phase

Start by observing the failure. Does the handle spin freely without retracting the latch? That usually indicates a snapped spring inside the casing. Is the handle physically loose against the door? The mounting screws have likely backed out due to vibration. If the door won’t latch at all, the strike plate on the door frame might be misaligned, preventing the latch bolt from seating correctly.
Step 2: Removal of the Handle Assembly
Locate the screws on the rose (the circular cover plate). If you see no screws, look for a tiny slot on the side of the knob; this is a release catch. Use a flathead screwdriver to push this catch while pulling the knob away from the door. Once the knob is off, remove the mounting screws. If the screws are stripped and won’t turn, grip the head firmly with your pliers to gain leverage.
Step 3: Inspecting the Internal Mechanism
With the handle off, look at the square hole through the door. This is where the spindle lives. Check if the spindle is rounded or worn down. A worn spindle often causes the “spinning handle” syndrome. Check the latch bolt inside the door edge. Does it spring back when you push it with your finger? If it stays stuck inside, the internal mechanism is jammed and needs cleaning or replacement.
Step 4: Real-World Repair Techniques
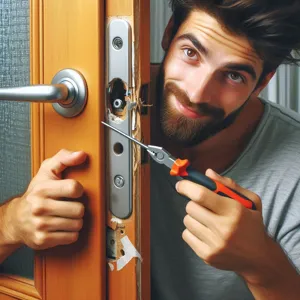
Fixing loose handles: Tighten the mounting screws first. If the holes are stripped and the screws just spin, jam a few wooden toothpicks dipped in wood glue into the screw hole. Once dry, the screws will have new wood to bite into.
Fixing sticky mechanisms: If the handle is stiff, spray silicone lubricant directly into the latch and the handle mechanism. Move the handle up and down 20 times to work the fluid into the springs. This acts like oiling a squeaky hinge, allowing the metal components to glide past each other instead of grinding.
Replacing the latch: If the latch bolt is broken, unscrew the two bolts on the edge of the door. Slide the old latch out, take it to the hardware store to ensure you buy the exact same length (the distance from the edge of the door to the center of the handle hole is called the backset), and slide the new one in.
Step 5: Reassembly and Final Testing

Slide the spindle back through the latch. Ensure the rose covers are aligned perfectly before tightening. Error to avoid: Overtightening. If you crank the screws down too hard, you put unnecessary pressure on the internal springs, which causes the handle to feel “heavy” or stick in the down position. Tighten until the handle is firm, then back off a quarter-turn. Test the handle from both sides of the door before closing it. Never test a newly installed lock with the door shut—keep it open to ensure you don’t accidentally lock yourself out during the final check.
Proactive Maintenance Tips
To prevent future failures, treat your door handle like any other moving machine. Every six months, perform a quick “health check”:
- Tighten screws: A minute of inspection prevents the mechanism from shifting and putting stress on the metal.
- Clean contact points: Sweat and oils from your hands can corrode finishes; wipe them down with a damp cloth.
- Check alignment: If your door sags, the latch will hit the strike plate too hard. Adjust the strike plate position slightly if you see scrape marks.
By keeping the internals clean and the screws snug, you can double the lifespan of even standard budget-friendly door handles. If you find the internal cassette is shattered or the metal casting has snapped, do not try to weld or glue it. The force applied to a handle during daily use is high; a complete replacement of the handle assembly is the only safe, long-term solution.
Content updated on 2026-08-29