WhatCanU.com has managed to bring together the most common questions that Internet users ask and provide relevant and precise answers
How to draw a rose step by step ?
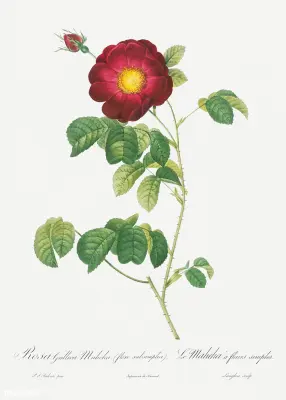
The rose is known for its delicate petals and intricate structure. It is a popular subject for artists of all skill levels.
Drawing a rose is a beautiful and timeless art that can add a touch of elegance and beauty to any drawing or painting. In this article, we will show you how to draw a rose in five easy steps.
Credit : Rawpixel
Step 1: Start by drawing the outer shape of the rose. Draw a small circle in the center of your paper. Then draw a larger, slightly elongated oval shape around it. This will be the outer shape of the flower
Step 2: Next, draw the petals of the rose. Begin by drawing five small petals around the center circle, evenly spaced apart. Then draw another five larger petals around the outside of the smaller petals.
Step 3: To add depth and dimension to the rose, draw a few more petals inside the larger petals. Draw them in a slightly different direction than the other petals to give the flower a more realistic and lifelike appearance.
Step 4: Now it’s time to add some detail to the rose. Start by drawing the rose’s stem and leaves. Draw a thin, curved line coming out of the bottom of the flower. Then add a few small leaves on either side of the stem.
Step 5: Finally, add some shading to your rose to give it a more three-dimensional appearance. Using a pencil, lightly shade the center of the flower and the areas where the petals overlap. You can also add some shadow to the stem and leaves to give them more depth and dimension.
With these five simple steps, you can easily draw a beautiful flower that will add a touch of elegance and beauty to any drawing or painting. The key to drawing a realistic rose is to take your time and be patient.
The delicate petals and its intricate structure can be challenging to draw. But with practice and perseverance, you will be able to create a stunning rose that you can be proud of.