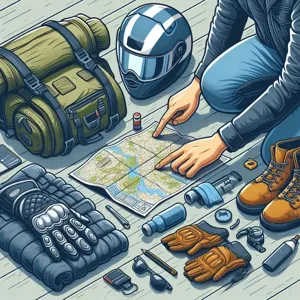
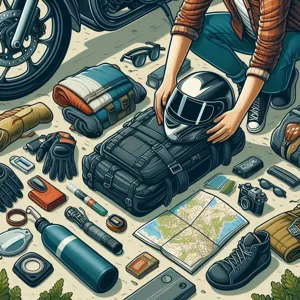
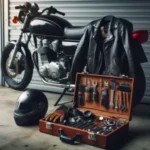
Packing for a motorcycle adventure is fundamentally different from packing for a car trip. In a car, you have the luxury of overflow space. On a bike, every extra kilogram affects your center of gravity, braking distance, and overall handling. Effective packing is not about what you can fit, but about what you actually need to ensure safety and comfort without compromising the ride.
1. Assessing Your Bike’s Physical Constraints
Before buying gear, map out your motorcycle’s load-bearing limit. Consult your owner’s manual for the maximum payload capacity, which includes you, your gear, and your passenger (if applicable). Exceeding this limit stresses your suspension and can cause handling issues like “speed wobbles” at highway speeds.
Weight Distribution: Always keep heavy items low and as close to the bike’s center of gravity as possible.
Balance: If using saddlebags, ensure the left and right sides are roughly equal in weight to prevent the bike from pulling to one side.
Mounting: Avoid strapping luggage to lights, exhaust pipes, or any part of the suspension that needs to move.
2. Strategic Luggage Selection
Credit : whatcanu.com
The type of terrain dictates your luggage choice. Soft bags (panniers) are excellent for off-road riding because they are less likely to break or cause injury if you tip over. Hard cases provide superior security and weatherproofing for road touring.
Pro Tip: Regardless of the bag type, always use internal dry bags. Even the most expensive ‘waterproof’ panniers can leak during an all-day deluge. Think of it like a Russian nesting doll system: your clothes go into a waterproof bag, which then goes into your luggage.
3. The Golden Rule: Layering and Versatility
Forget packing one outfit for every day. Focus on a modular layering system that adapts to temperature swings. You need a base layer (moisture-wicking synthetic or wool), a mid-layer for warmth (fleece or thin down), and a weather-protective outer shell.
Avoid Cotton: It holds moisture and stays cold when wet. Use merino wool or technical synthetics.
Multi-Purpose Gear: Your riding jacket should have removable liners. Your off-bike shoes should be compact.
Limit Casual Wear: Pack for three days and wash your clothes in the sink. You do not need a fresh shirt for every day of a two-week trip.
4. Field-Tested Maintenance Toolkit
Credit : whatcanu.com
Do not rely on the factory tool kit. Build a custom set that targets the specific bolts and components of your motorcycle. A common mistake is carrying tools you don’t know how to use.
Essential roadside kit:
Tire Repair: A plug kit and a compact CO2 inflator or mini-pump are non-negotiable.
Multi-Tool: A high-quality set with hex keys, screwdrivers, and pliers.
Fix-it Tape: Self-fusing silicone tape is incredible for sealing a leaking hose or wrapping a broken bracket.
Spare Fasteners: Carry a few extra zip ties and a small roll of duct tape. They are the universal “adventure fix” for broken plastic fairings or dangling cables.
5. Organizing for Immediate Access
If you have to unpack your entire bag to find your rain gear during a storm, you have failed at packing. Organize your gear by frequency of use.
Top of the bag: Rain gear, first aid kit, snacks, and glasses.
Middle: Daily clothing and toiletries.
Bottom: Tools, spare parts, and camping equipment used only once you reach the destination.
Credit : whatcanu.com
Technical Hack: Use compression cubes to squeeze air out of your soft gear. It drastically increases usable volume. Label the outside of your cubes with a marker so you don’t have to open them to see what is inside.
6. Reality Check: Items to Leave Behind
Most riders pack for their fears rather than for the journey. Stop packing for a catastrophic worst-case scenario that requires a full mechanic’s workshop. If the bike suffers a catastrophic engine failure, a small set of Allen keys won’t save you anyway. Focus on the basics: tires, chain, and minor electrical connections. If it’s heavy and you haven’t used it in the last two trips, leave it behind. Your bike, and your back, will thank you.
7. Final Pre-Departure Inspection
Before you turn the key, perform a T-CLOCS check: Tires, Controls, Lights, Oil, Chassis, and Stand. Ensure your luggage is strapped down so tightly that the bike moves when you shake the bags. If the luggage moves, the straps are loose. Loose straps lead to dangerous swaying and, eventually, a bag caught in your rear wheel.