WhatCanU.com has managed to bring together the most common questions that Internet users ask and provide relevant and precise answers
How to factory reset Oculus Quest 2 ?
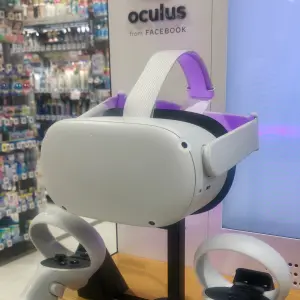
The Oculus Quest 2 is a popular virtual reality headset that offers an immersive gaming experience. However, it can sometimes experience issues that require a factory reset
First, it’s important to understand why you might want to factory reset your Oculus Quest 2. This is typically done to troubleshoot problems with the device, or to start fresh with a clean slate.
To begin, make sure your Oculus Quest 2 is charged and connected to the internet. Then, follow these steps:
Open the Oculus app on your phone and tap the “Settings” option in the bottom menu.
Scroll down to the “Device” section and tap on the “Oculus Quest 2” option.
In the “Device” menu, tap on the “More Settings” option.
Scroll down to the “Reset” section and tap on the “Factory Reset” option.
You’ll be asked to confirm that you want to factory reset your Oculus Quest 2. Tap on the “Reset” button to proceed.
Your Oculus Quest 2 will begin the reset process, which can take a few minutes to complete.
Once the factory reset is complete, you’ll be prompted to set up your Oculus Quest 2 as if it were a new device. Follow the on-screen instructions to do so.
Fresh start with a clean slate
It’s worth noting that factory resetting your Oculus Quest 2 will erase all of your data, including saved games, settings, and other personal information. Make sure you have backed up any important data before proceeding with the factory reset.
While a factory reset can be a helpful solution when your Oculus Quest 2 is experiencing issues, it’s not a cure-all. If you continue to have problems after resetting your headset, you may need to contact Oculus support for further assistance.
In conclusion, factory resetting your Oculus Quest 2 can be a useful troubleshooting tool or a way to start fresh with a clean slate. justmake sure you have backed up any important data before proceeding with the reset. Follow the steps outlined above, and you’ll be ready to go in no time.