
Mastering the Perfect Steak: A Technical Approach

Cooking a steak that rivals a high-end steakhouse requires moving past guesswork. You need to control thermal energy and manage moisture. Whether you are using a pan or a grill, the objective remains the same: a deeply caramelized exterior paired with an evenly cooked, succulent interior.
The Foundation: Preparation and Temperature
Never cook a steak straight from the refrigerator. Cold protein hitting a hot surface causes the exterior to burn before the center reaches your desired temperature. This is like trying to boil water with a frozen ice cube; it just doesn’t work efficiently.
- Tempering: Remove your steak from the fridge 45 to 60 minutes before cooking. Let it reach room temperature.
- Surface Moisture: Moisture is the enemy of a good crust. Use paper towels to pat the steak bone-dry on all surfaces. If the meat is wet, the energy in the pan goes toward evaporating that water (steam) rather than searing the meat (crust).
- Seasoning: Salt your meat 45 minutes before cooking. Salt draws out moisture initially, but then it reabsorbs into the meat, seasoning it deeply. If you salt immediately before cooking, the salt just sits on the surface.
The Technique: Pan-Searing for Maximum Crust
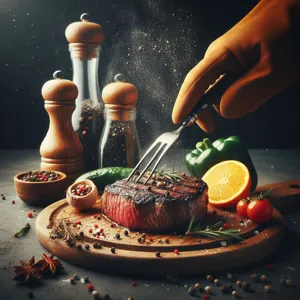
For consistent results at home, a heavy cast-iron skillet is the superior tool. It holds heat effectively, which is vital when cold meat hits the surface.
- Heat Management: Preheat your skillet until it is smoking hot. Use a high-smoke-point oil like avocado or grapeseed, not butter or extra virgin olive oil, which will burn and turn bitter.
- The Searing Process: Lay the steak away from you to avoid oil splatters. Let it sear undisturbed for 2 to 3 minutes until a mahogany crust forms.
- The Flip: Once the crust is set, flip the steak.
- Basting: Add two tablespoons of unsalted butter, two smashed garlic cloves, and a sprig of fresh thyme to the pan. Tilt the pan slightly and spoon the foaming butter over the steak repeatedly for the last 2 minutes of cooking. This acts like a hot oil bath, finishing the cook gently.
Precision Control: Doneness and Thermometers
Stop using the ‘finger test’ to check for doneness. It is inaccurate. Invest in an instant-read digital thermometer. Insert the probe into the thickest part of the steak, away from the bone or fat pockets.
- Rare: Pull at 120°F (49°C)
- Medium-Rare: Pull at 130°F (54°C)
- Medium: Pull at 140°F (60°C)
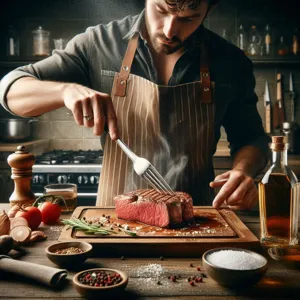
Carryover Cooking: Your steak will continue to rise in temperature by 5°F after you remove it from the heat. Always pull the steak off the heat just before it hits your target temperature.
The Final Stage: Resting
Resting is non-negotiable. If you slice into a steak immediately, the internal juices haven’t stabilized and will leak onto your board. You lose the flavor and tenderness you just worked to create.

Place your steak on a warm plate or a cutting board and tent it loosely with foil for 7 to 10 minutes. This allows the muscle fibers to relax and reabsorb the juices, ensuring that every bite remains moist.
Errors to Avoid
- Overcrowding: If you put too many steaks in a pan at once, the pan temperature drops instantly. You end up steaming the meat instead of searing it. Work in batches.
- Moving the Meat: Leave the steak alone while searing. Every time you poke or move it, you break the contact required for the Maillard reaction, the chemical process that creates flavor.
- Cutting with the Grain: Look at the meat fibers. Use your knife to slice perpendicular (across) to those lines. Shortening the muscle fibers makes the meat feel tender, whereas cutting with the grain results in a chewy, tough experience.
Summary Checklist for Success
A perfect steak is a result of preparation, not luck. Temper your meat, dry the surface, ensure your pan is screaming hot, and use a thermometer to hit your specific target. Respect the resting period, and slice against the grain. Follow these steps, and your results will be consistent every single time.
Content updated on 2026-10-01