
Mastering Homemade Yogurt: A Practical Guide
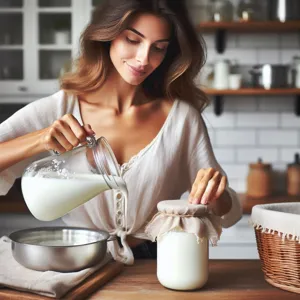
Homemade yogurt offers a level of quality and cost-efficiency that store-bought options rarely match. Most commercial brands rely on gums, starch, and massive amounts of sugar to simulate a texture that proper fermentation creates naturally. When you make it yourself, you gain total control over the ingredients and the final consistency. The process requires less than ten minutes of active labor per batch once you refine your workflow.
The Anatomy of Success: Ingredients and Tools
You do not need industrial equipment to produce artisan-quality yogurt. Focus on these three pillars to guarantee a successful ferment every time.
- The Milk Base: Always use whole milk. Fat is the primary driver of mouthfeel and creaminess. Avoid Ultra-Pasteurized (UHT) milk, as the extreme heat treatment damages the whey proteins required to form a stable gel structure.
- The Live Culture: Your starter acts like a professional construction crew. A high-quality store-bought plain yogurt with live, active cultures is sufficient. Always verify that the label lists specific strains of bacteria.
- Precise Thermal Tools: A digital thermometer is mandatory. In yogurt production, the difference between 110°F and 125°F is the difference between a thick, smooth batch and a batch that remains thin and grainy.
The Process: Heat, Cool, and Incubate
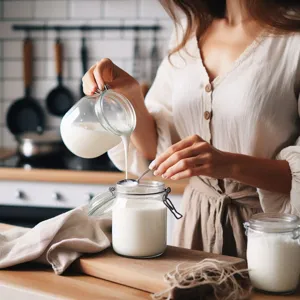
Think of the fermentation process as managing a biological ecosystem. You must prepare the environment for your bacteria to thrive effectively.
Phase 1: Denaturing the Proteins
Heat your milk to 180°F (82°C). This step is not just about pasteurization; it is about protein structure. Think of this like unravelling a tangled ball of yarn. By denaturing the proteins, you allow them to bond together into a tighter matrix once the bacteria begin their work. Stir constantly to prevent scorching the bottom of your pot.
Phase 2: Reaching the ‘Goldilocks’ Temperature

Allow the milk to cool to between 110°F and 115°F (43°C – 46°C). If you introduce your starter above 120°F, you will kill the bacteria instantly. If the milk is below 105°F, the bacteria will struggle to initiate the fermentation cycle. Patience during this cooling phase is essential.
Phase 3: The Incubation Environment
Whisk in your starter and maintain the temperature for 8 to 12 hours. The bacteria consume the lactose in the milk and convert it into lactic acid, which thickens the texture. An oven with the internal light turned on often provides the perfect ambient heat for this incubation.
Refining Your Technique: Professional Field Notes

After producing hundreds of batches, I have learned that small adjustments yield significant improvements in texture and flavor profile.
- Increasing Solids: Whisk in two tablespoons of dry milk powder per liter of milk before heating. This increases the total solid content, which yields a naturally thicker result without requiring additional straining.
- The Proper Add-in Timing: Never add fruit, honey, or flavorings before fermentation. These additives can interfere with bacterial growth. Always incorporate sweeteners or fresh fruit after the incubation cycle is complete.
- The Infinite Loop: Save a small jar of your current batch to act as the starter for the next one. This creates a sustainable cycle. Note that every 5 to 6 generations, the culture may weaken. If you notice a thinner texture, purchase a fresh high-quality yogurt to ‘reset’ your culture.
- Sterilization Protocols: Treat your jars like laboratory equipment. Rinse them with boiling water before use. You want to create an environment where only your beneficial bacteria can thrive, leaving no room for opportunistic invaders.
Troubleshooting Common Failures
Even experienced makers face setbacks. Use these fixes to salvage your batches and adjust your future approach.
- The Soup Consistency: If your yogurt is runny, you likely failed to reach the 180°F mark, or your incubation temperature dropped too low. The easiest fix is to strain the batch through a cheesecloth for two hours. This creates a dense, premium Greek-style yogurt.
- Whey Separation: A layer of clear liquid (whey) on top is completely normal. It is a natural byproduct of fermentation. Simply stir it back into the mixture for a thinner consistency or pour it off if you prefer a thicker product.
- The Cold Spot: If your incubation area experiences drafts, your bacteria will produce a weak set. Wrap your container in a heavy towel or place it inside an insulated cooler to maintain a steady temperature throughout the fermentation period.
By treating yogurt making as a simple, repeatable process rather than a mystery, you will consistently produce a healthier, cheaper, and tastier product. Start with these fundamentals and adjust your variables to match your personal preference for tanginess and texture.
Content updated on 2026-08-31