
How to install a new dishwasher?
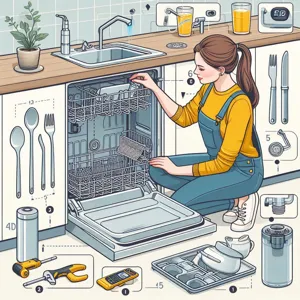
Installing a dishwasher is a task you can handle with basic tools if you follow a precise sequence. Think of this process like assembling a custom PC: every connection must be secure and in the right place to prevent system failures—in this case, kitchen floods. By handling the plumbing and electrical steps methodically, you save hundreds of dollars in professional installation fees.
Preparation and Essential Gear
Before moving the machine, organize your workspace. Having the right tools avoids mid-job interruptions. Gather these items before you start:
- Adjustable wrench: For all plumbing fittings.
- Multi-bit screwdriver: Both Phillips and flathead are required.
- Power drill: Necessary for securing mounting brackets to the cabinet.
- Bubble level: Crucial for ensuring the appliance sits perfectly flat.
- Teflon tape: Essential for sealing threaded pipe connections.
- New water supply and drain hoses: Never reuse old hoses, as they become brittle and prone to bursting.
- Bucket and towels: To catch the inevitable residual water left in the old lines.
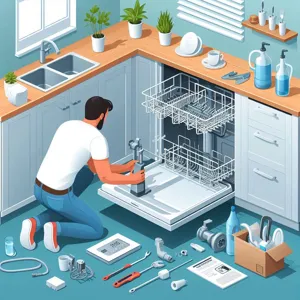
Clear out the cabinet space beneath the sink. You need full visibility of the water shut-off valve and the electrical junction box. If you cannot see the connections, you cannot confirm they are dry after the test run.
Removing Your Old Appliance Safely
Before touching any pipes, kill the power at your circuit breaker. Do not rely on the dishwasher switch alone. Close the water shut-off valve under your sink. Disconnect the drain hose from the garbage disposal or sink tailpiece. Unfasten the water supply line from the dishwasher inlet. Open the door to find the top mounting brackets, unscrew them from the underside of the countertop, and carefully slide the unit forward. Place a protective rug or cardboard under the unit to prevent scratching your kitchen flooring during extraction.
Wiring and Plumbing: Specific Model Variations
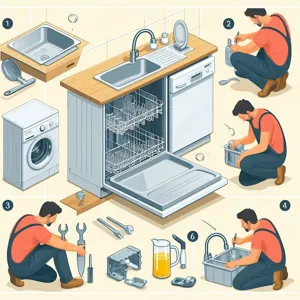
Modern dishwashers vary in their internal configuration. Some models come with a pre-attached power cord, while others require hardwiring directly into a junction box. If your model uses hardwiring, match the wires by color: black to black (hot), white to white (neutral), and green or copper to ground. Secure these connections with wire nuts. A loose connection acts like a bottleneck in a pipe; it creates heat and can eventually cause a fire hazard.
Positioning and Leveling the Unit
Slide the new unit into the cabinet opening. Avoid pinching the water lines or the power cable behind the machine. A pinched hose is like a kinked garden hose—it restricts flow and forces your pump to work harder, eventually leading to a motor burnout. Place your bubble level on the door frame. Adjust the leveling legs at the bottom until the bubble is perfectly centered. Proper leveling ensures the door seal sits flush, which is the primary defense against water leaking onto your floors.
Executing Reliable Connections
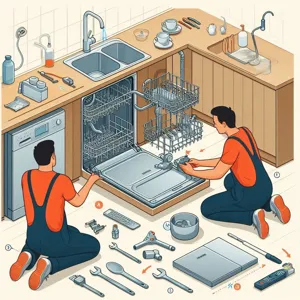
Apply Teflon tape to the threads of your water inlet valve before connecting the supply line. Tighten the nut with your wrench until snug, then add only a quarter-turn. Over-tightening plastic fittings is a frequent amateur mistake that leads to hairline cracks. Connect the drain hose to your disposal or sink. You must secure this hose in a high loop configuration. Tape or strap the hose to the underside of the countertop. This loop prevents drain water from the sink from backflowing into your clean dishwasher, effectively creating an air gap.
The Critical Testing Phase
Secure the unit to your cabinets using the provided screws. Restore power and water. Run a short rinse cycle and monitor the machine for the entire duration. Use a flashlight to inspect all joints for moisture. Even a tiny bead of water indicates a seal failure that needs immediate attention.
Field Experience: Mistakes to Avoid
- The Knockout Plug Trap: If you install a new garbage disposal, ensure you remove the plastic knockout plug inside the nipple. If you skip this, the dishwasher will never drain.
- Old Hoses as Shortcuts: Reusing old hoses is a gamble. The rubber inside has likely hardened and lost its elasticity. A cheap new hose is your insurance policy against a flooded kitchen.
- Ignoring the Vibration: Ensure the dishwasher is level. A unit that rocks slightly during the cycle will cause pipe joints to loosen over time due to persistent vibration.
- Tipping during installation: Be careful when sliding the unit. Modern dishwashers are top-heavy when the racks are loaded or extended. Keep the door closed until it is fully secured to the cabinet frame.
Proper installation is about attention to detail. By verifying your seals and securing your hoses, you ensure the appliance operates reliably for years. If you spot a leak during testing, stop the machine immediately, dry the area, and inspect the fitting. It is much easier to fix a dripping connection during the first hour than to repair water damage after a month of hidden leaks.
Content updated on 2026-10-10