
Mastering Door Installation: A Professional Approach
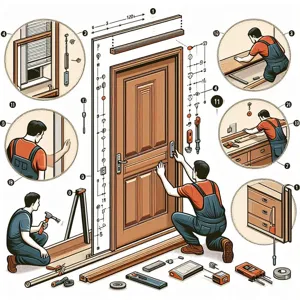
Installing a door is less about brute force and more about geometric precision. If you view a door as a floating component that must balance perfectly within a rigid frame, you are already thinking like a carpenter. This guide skips the generic advice to focus on the technical nuances that separate a DIY project from a professional installation.
The Critical Pre-Installation Audit
Before buying anything, examine your current setup. Many installers assume the rough opening is square, but it rarely is. Use a 4-foot level to check for deviations in your wall studs.
- Measure the height and width of the opening in three locations each. Use the smallest dimension for your order.
- Check if your floor is level. If the floor drops by 1/2 inch on one side, your door will drag unless you trim the jambs before installation.
- Measure the wall thickness. Modern pre-hung units are built for standard 4-1/2 inch walls. If your wall is thicker due to tile or plaster, you will need jamb extensions.
Setting the Frame: The Art of Shimming
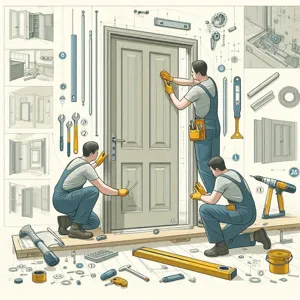
Think of shims as the steering mechanism for your door frame. They push the frame into the only position where the door hangs neutrally. Place shims directly behind each hinge and at the latch point to provide structural support for the weight of the door.
Drive your hinge-side screws through the shim points, but do not fully tighten them. Once the frame is placed, hang the door slab. Check the reveal—that is the uniform gap between the door and the frame. A perfect reveal is 1/8 inch, roughly the thickness of two stacked quarters. If the gap is tight at the top and wide at the bottom, your hinge side is leaning. Adjust the shims until the gap is consistent.
Pro-Level Finishing Techniques
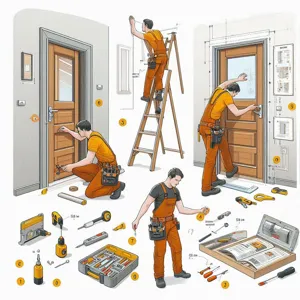
A door that functions perfectly can still look unfinished if the details are ignored. Many DIYers leave visible gaps between the jamb and the drywall, or worse, use the wrong filler.
- The Mortise Detail: Use a sharp chisel to ensure your hinges sit perfectly flush. If a hinge sits proud (protruding), the door will bind near the latch side.
- Strike Plate Alignment: If the door doesn’t latch smoothly, the strike plate is likely misaligned. Use a black marker to coat the bolt, then close the door. The mark left on the strike plate will show you exactly where to file.
- Foam Application: Only use low-expansion, window-and-door specific spray foam. Standard expanding foam is powerful enough to bow your door jambs inward, effectively jamming your new door.
Returning to Terrain: Errors that Kill Performance
Even skilled workers fall into common traps. Avoid these pitfalls to ensure your door lasts for decades:
- The Hinge-Side Neglect: Forgetting to shim behind every screw point means the door will eventually sag under its own weight. This is like trying to hold a heavy shelf with screws that have no wall anchor.
- Over-tightening Jambs: If you crank the screws down too hard, the jamb will bow. Always use a level as you tighten to verify the jamb remains flat.
- Ignoring Threshold Contact: If the door doesn’t seal at the bottom, your energy efficiency drops to zero. If there is a light gap, install an adjustable threshold or a sweep.
Final Calibration and Maintenance
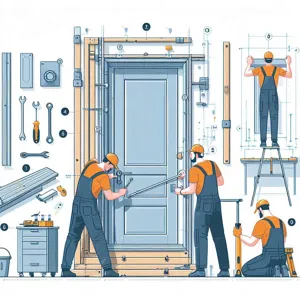
Once the casing is nailed back on, perform the final test: the swing test. Open the door to 45 degrees. It should remain stationary. If it swings open or shut on its own, your hinge side is not plumb. Even a 1/16 inch deviation can cause this drift.
Finally, treat your hardware. A light coating of silicone spray on the hinges prevents the metal-on-metal friction that causes squeaking over time. Avoid oil-based lubricants, as they attract dust and eventually gum up the hinge mechanism.
Content updated on 2026-08-29