Mastering the Fundamentals of Homemade Soup
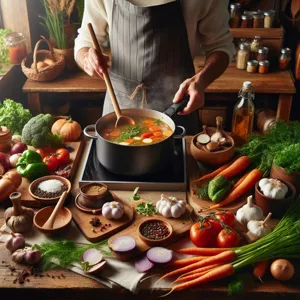
Making soup is a deliberate engineering process rather than a random assembly of ingredients. If your soups lack depth or taste thin, you are likely failing at thermal management or ingredient extraction. Professional kitchens treat a soup pot like a chemistry set. You control the flavor release through specific heat application and precise timing.
Think of your soup pot as a bicycle. The stock is the frame, the vegetables are the gears, and the seasoning is the pedal power. If the frame is weak, the rest of the machine will not perform regardless of how hard you pedal.
Building a High-Performance Foundation
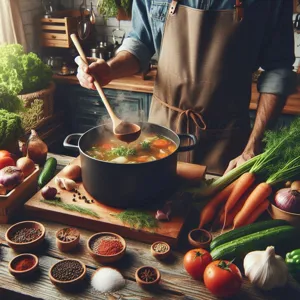
The flavor of your final product is dictated by your broth. Water is a blank canvas, but it needs structure. You must extract collagen and aromatics to build body.
- Roast for Maillard: Place onions, celery, and carrots in a 400°F (200°C) oven for 25 minutes. This chemical browning creates savory complexity. Without it, your soup will taste like boiled water.
- The Collagen Advantage: Use bone-in meats like chicken backs or beef shanks. During a long simmer, collagen converts to gelatin. This provides a silky mouthfeel, similar to how a well-maintained road feels smoother than gravel under your tires.
- The Cold Start Method: Always add cold water to your stock pot. This allows a slow, steady extraction of proteins. Starting with hot water seals proteins prematurely, locking flavor inside the solids.
- Simmering Strategy: Keep your temperature at a gentle bubble. A rolling boil agitates fats, emulsifying them into the water. This leads to a cloudy, dull appearance and can introduce bitter notes.
The Three-Stage Texture Control
Many home cooks add all ingredients at once, resulting in mushy vegetables. You must treat your ingredients based on their structural integrity. Use this tiered approach for a professional finish.
- Stage 1: The Base. Sauté your mirepoix (onion, carrot, celery) in fat for 8 to 10 minutes until soft. This is like laying a foundation; it concentrates the sugars and creates the aromatic base.
- Stage 2: The Bulk. Add your stock, dried beans, or hardy root vegetables. Simmer these until they reach 80 percent of their desired tenderness.
- Stage 3: The Finish. Add soft greens, fresh herbs, or pre-cooked grains in the final 5 to 7 minutes. This keeps colors vibrant and textures crisp, preventing the dreaded mushy vegetable syndrome.
Precision Seasoning and Flavor Balancing
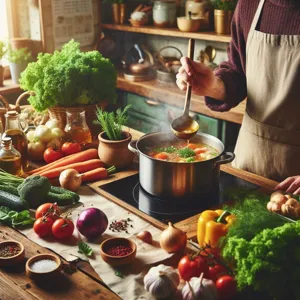
If your soup tastes flat, it usually lacks a balance between fat, salt, and acid. Think of these three elements like a sound system. You need to adjust the treble, mid-range, and bass until the sound is balanced.
- The Acid Hack: If a soup feels heavy or lacks punch, add 1 tablespoon of lemon juice or apple cider vinegar. Acid acts like a high-beam headlight, illuminating the underlying flavors of the broth.
- Staged Salting: Never dump all your salt at the start. Salt your aromatics early, then season the final broth only at the very end. Liquids reduce during cooking, which concentrates salt. Salt too early, and your soup will be unpalatable by the time it finishes.
- Fat as a Carrier: Fat carries flavor molecules to your taste buds. If you use lean ingredients, finish the bowl with a teaspoon of extra virgin olive oil or a small knob of butter. It works like a bridge connecting disparate flavors on your palate.
Common Pitfalls and Field Fixes
Even experienced cooks make mistakes. Avoid these common traps to maintain consistent results.
- The Overcrowding Error: Do not fill your pot to the brim. Aim for 75 percent capacity. This allows for better heat circulation and prevents uneven cooking cycles.
- The Speed Trap: Never rush the browning of your onions. If you skip this, you miss the chemical reaction that creates savory depth. Use medium heat and patience; this is the most important step for professional results.
- Texture Neglect: If you are pureeing a soup, keep a small portion of diced vegetables aside. Fold them back in after blending to provide a necessary textural contrast.
Strategic Cooling and Storage
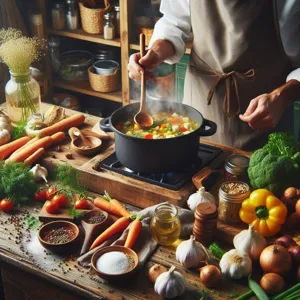
Soup rarely tastes best immediately. Flavors need time to marry. Proper storage ensures your effort lasts longer.
- Rapid Cooling: Bacteria grow quickly in warm liquids. Place your pot in an ice bath in the sink for 15 minutes before refrigerating. This moves the soup through the ‘danger zone’ of temperature quickly.
- The Pasta Rule: Never freeze soup containing pasta or rice. The starches will absorb the liquid and turn into a gummy mess. Freeze the base, and add fresh noodles when you reheat the meal.
- Efficiency Tip: Use freezer-safe bags laid flat. This creates a thin, uniform sheet of frozen soup that thaws in a bowl of warm water in under 10 minutes.
Final Advice: Measure to Master
Stop guessing. Use a kitchen scale for your salt and aromatics. Consistent inputs lead to consistent outputs. Once you master these variables, you can iterate on recipes with confidence rather than relying on luck. Focus on temperature control and ingredient timing, and you will produce restaurant-quality soups every time you pick up the ladle.
Content updated on 2026-10-10