
How to install a new shower head?
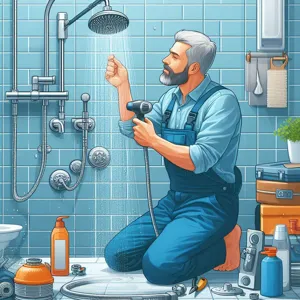
Replacing a shower head is the most effective DIY project for upgrading your bathroom experience. It takes less than thirty minutes and requires only basic tools. This guide covers the technical steps to ensure a leak-free installation while helping you choose the right materials for your specific plumbing setup.
Choosing the right material: Plastic vs. Metal
The market offers shower heads made of various materials, each with trade-offs. Understanding these will help you avoid premature failures.
- Plastic with Chrome Finish: These are lightweight and budget-friendly. However, the internal threads are often prone to stripping if you over-tighten them. They are suitable for guest bathrooms with low usage.
- Solid Brass: Brass is the gold standard. It is heavy, durable, and handles high water pressure without cracking. If you have aggressive water minerals, brass resists corrosion far better than cheaper alloys.
- Stainless Steel: An excellent middle ground. It resists rust well and offers a modern aesthetic. It is stronger than plastic but lighter than solid brass.
Always inspect the connection point of the unit before buying. If the shower arm in your wall is metal, a brass-threaded shower head is the best match. Mixing metals can lead to galvanic corrosion, where one metal eats away at the other over time.
Essential tools for the job

Do not attempt this without the right preparation. Using incorrect tools often results in damaged finishes or stripped threads.
- Adjustable Wrench: A 10-inch wrench provides enough leverage for most residential fittings.
- Plumber’s Tape (PTFE Tape): This white, thin film fills the microscopic gaps between the pipe threads and the shower head. It acts like a custom-fit gasket.
- Heavy-duty Cloth or Rubber Strap: This acts as a protective barrier between the wrench jaws and your fixture.
- Small Nylon Brush: Essential for clearing old sediment from the wall pipe threads.
Removing your old fixture
First, clear your work area. Place a towel or a bucket over the shower drain. This prevents small screws or washers from disappearing into the plumbing system. If you lose a washer, you will have to stop the job to go to the hardware store.
Grip the base of the old shower head firmly. If it is stuck, wrap your cloth around the pipe and use the adjustable wrench. Think of the cloth as a protective glove; it prevents the metal jaws from biting into the fixture finish. Turn the fixture counter-clockwise. If it refuses to budge, apply a penetrating oil and wait ten minutes before trying again.
Preparing the connection for a watertight seal
Once removed, the pipe threads often look dirty. You will see white crust or old, shredded tape. Scrub these threads clean with your nylon brush until the metal surface is smooth. If you leave debris, the new head will not sit flush.
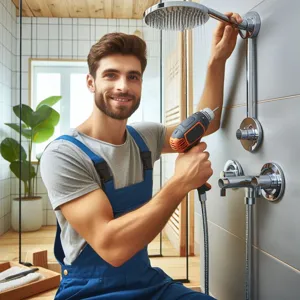
Imagine cleaning a phone screen before applying a protector; any speck of dust causes an air bubble. Here, any speck of debris prevents a perfect seal, leading to leaks.
Applying plumber’s tape correctly
Wrap the tape around the threads of the shower arm in a clockwise direction. If you wrap counter-clockwise, the tape will unravel as you screw the shower head on.
- Apply two to three full wraps only.
- Pull the tape tight as you wrap so it conforms to the threads.
- Do not cover the very end of the pipe, as this can block water flow.
Too much tape creates a bulk that makes the head impossible to screw on straight. Use just enough to cover the threads completely.
Installing and tightening the new head
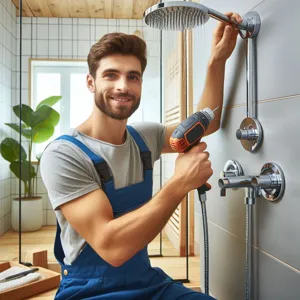
Start by threading the head on by hand. Turn it clockwise until it stops. Most modern shower heads feature a rubber washer inside the neck. This washer does the heavy lifting for the seal, so you rarely need to force it with a tool.
If you must use a wrench, turn it only a quarter-turn more. Over-tightening is a common mistake that cracks the internal plastic swivel mechanism inside the head. If the head faces the wall or the ceiling, do not force it. Simply unscrew it, check the tape, and adjust your starting position.
Common installation pitfalls and troubleshooting
If you turn the water on and notice a spray at the connection, you have a leak. Turn the water off and inspect the rubber washer. It may have fallen out or pinched during installation. Ensure the washer is seated flat inside the neck.
If your water pressure feels weak, check for a flow restrictor. This is a small plastic disc inserted into the base of the shower head. While it helps save water, some high-end heads perform poorly with them. Remove it only if you are aware of your local water usage regulations.
Long-term maintenance tips
- Descaling: Every six months, fill a plastic bag with white vinegar and tie it around the head. Leave it for two hours to dissolve mineral buildup.
- Cleaning: Avoid harsh chemicals like bleach. They destroy the finish and degrade the rubber internal seals. Use mild dish soap and a soft sponge.
- Hose Inspection: If you use a handheld shower head, inspect the hose connection twice a year. Ensure the hose is not kinked behind the wall plate, as internal pressure buildup can cause the hose to burst.
Content updated on 2026-10-12